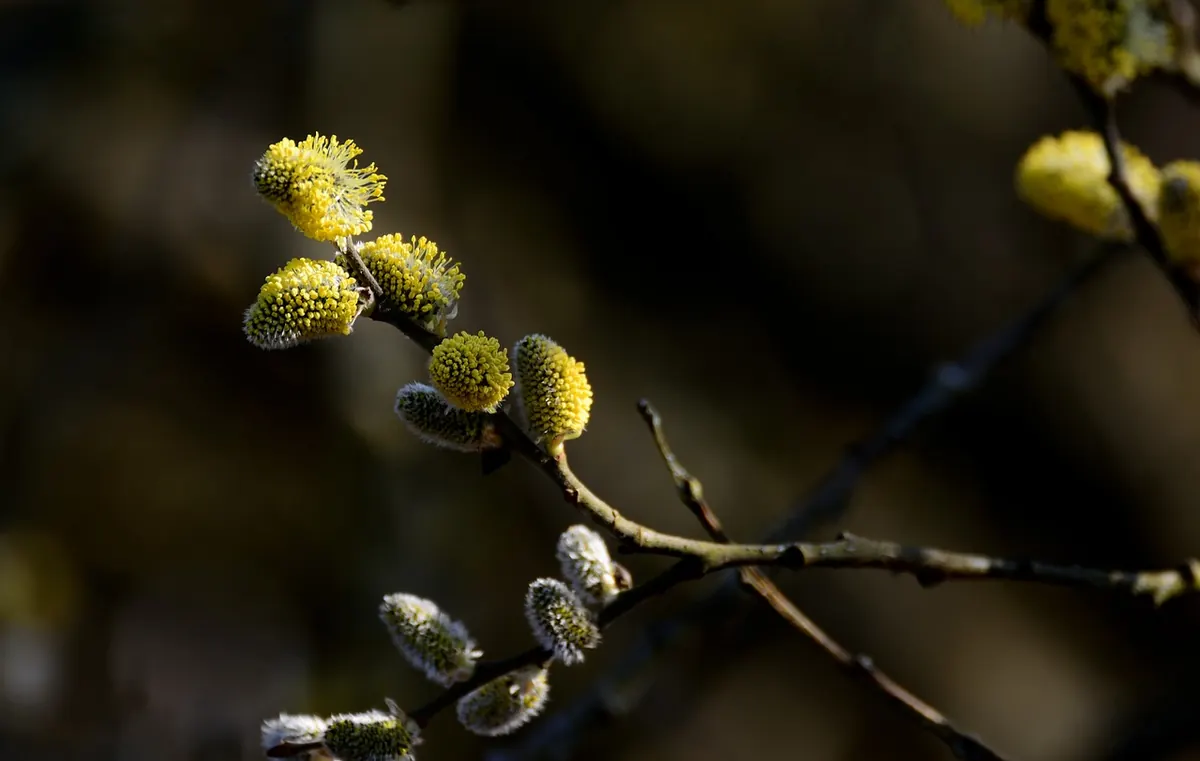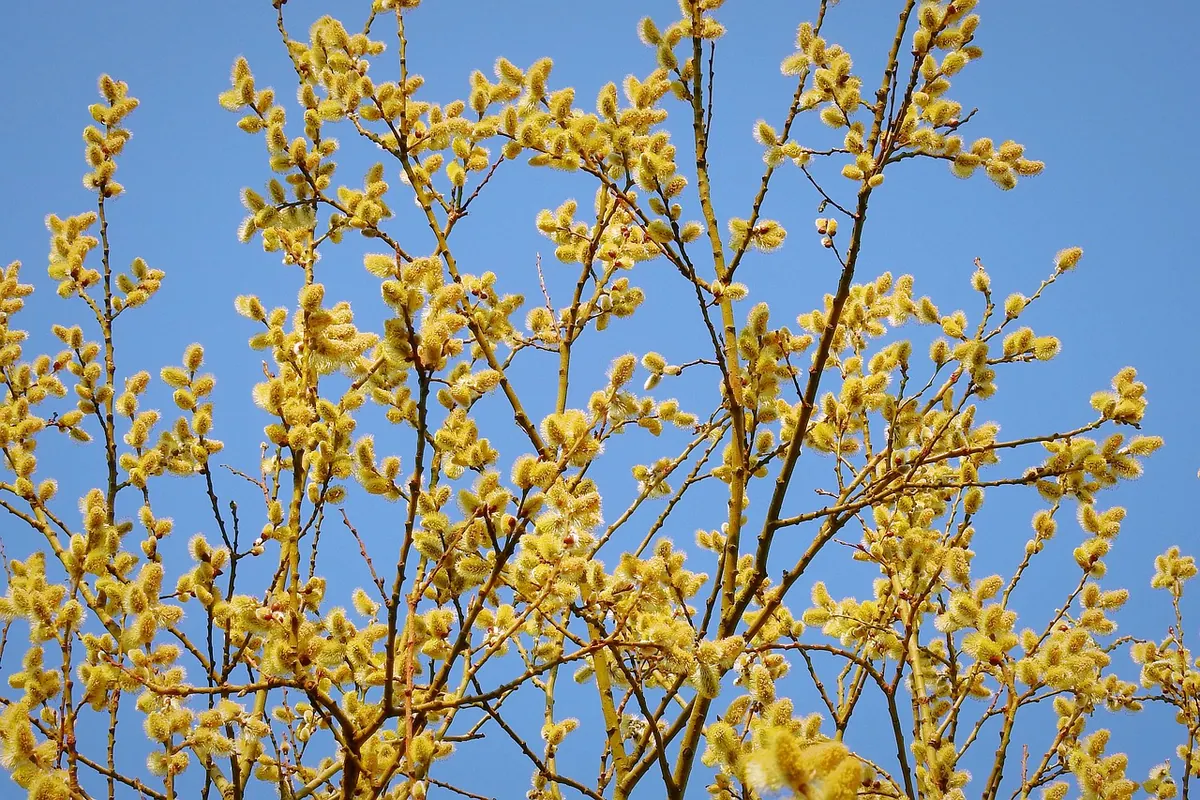
A willow in a pot sounds like a contradiction. Willows are the trees that lean over riverbanks, push roots into drains and grow back after being cut to the ground. But the willow family is broad, and its smallest members — alpine creepers and compact shrubby cultivars — settle into container life surprisingly well. They give you early catkins, fine-textured foliage and a bit of movement on a balcony. The trick is refusing to treat them like a geranium: they want a bigger pot than you think, a leaner mix than you expect, and more water than almost anything else on the patio.
“Dwarf” is used loosely for three quite different plants, and they do not want the same treatment.
Compact shrubby cultivars such as Salix purpurea ‘Nana’ are the easiest and the best place to start. They form a rounded bush of narrow, blue-green leaves on purple-tinted young stems, and they tolerate hard pruning without complaint. If you want one willow in one pot, choose this type.
Creeping and alpine species — Salix repens, Salix reticulata, Salix helvetica — hug the ground and carry their catkins low. They are beautiful in a shallow trough, but they need sharp drainage and a cool root run, and they sulk in a rich, soggy mix.
Grafted weeping standards, like the familiar Salix caprea ‘Kilmarnock’, are a weeping head on a straight trunk. They are sold as patio plants, and they work, provided the pot is heavy enough to stop them blowing over and you stay on top of shoots sprouting from the trunk.
Willows build dense, fast-growing root systems. A pot that looks generous in the garden centre will be full by midsummer, and a root-bound willow in July is a thirsty, wilting thing that needs watering twice a day.
Glazed ceramic and thick plastic hold moisture far better than terracotta, which dries from the inside out. If you love terracotta, use it, but plan on watering more often. Whatever you choose, check that the drainage holes are large and clear, cover them with mesh rather than a thick layer of crocks, and stand the pot on feet so water can leave freely.
Weight matters as much as looks. A 40-litre pot filled with wet compost is not something you shift on your own, and on a balcony it is a load worth thinking about. If you are unsure what your balcony or roof terrace can safely carry, ask the building manager or a structural engineer before you fill anything.
Here is the mistake most beginners make: buying the richest compost on the shelf. Willows grow in poor, wet ground in the wild. Give them a luxurious mix and you get soft, floppy growth, fewer catkins and a plant that topples in the first breeze.
Use a soil-based mix, which is heavier and more forgiving than pure peat-free multipurpose:
For alpine species, go leaner still: one part loam, two parts grit, one part leafmould. Skip fresh manure entirely, and go easy on slow-release fertiliser at planting. Finish with a 2cm layer of gravel over the surface, which slows evaporation and keeps the base of the stems dry. Firm the mix as you fill — willows dislike loose planting and rock slightly for weeks afterwards if you leave air pockets.
A willow drinks. On a hot day a bushy plant in a 40-litre pot can dry the top few centimetres by late afternoon, and a small alpine trough can go from damp to dusty in hours. Check daily from May to September, and twice on the sort of still, windless days when the heat sits on the patio.
Push a finger in to the second knuckle, or simply lift the pot and judge by weight; after a week you will know the difference between watered and dry without thinking about it. Keep the mix evenly moist but never stagnant. A saucer is useful in summer — empty it within a day rather than letting the pot stand in soup for a fortnight. In winter, keep the plant just moist and never bone dry, because cold wind dries compost faster than most people expect.
Learn the two signals. Wilting leaves over dry compost means drought; yellowing lower leaves and a sour smell mean waterlogging. Both are fixable if you catch them early, and both are much easier to prevent than to cure.
Willows respond to the secateurs better than almost any shrub you can put in a pot, so do not be timid.
Cut the whole plant back to 15–25cm above the rim in late February or early March. The regrowth comes away fresh and blue-toned, the bush stays compact, and it will not outgrow its pot. Do this every year, or coppice every second year if the plant looks tired.
There is one trade-off. Catkins form on the previous season’s stems, so hard late-winter pruning costs you that spring’s display. If the catkins are the reason you bought the plant, prune straight after flowering instead, or cut half the stems hard each year and leave the rest to bloom.
Trim the weeping shoots back to a bud after flowering, keep any ties checked, and rub out immediately any shoot that appears on the trunk or below the graft. Those shoots are the rootstock taking over, and they will outgrow the weeping head within a season or two.
Barely prune at all. Tidy wayward shoots after flowering, remove dead patches, and leave the rest alone. Old wood on these species often carries no dormant buds, so cutting hard into it can leave a permanent hole.
One bonus: willow stems root easily. Push a few of the pruned lengths into a jar of water and you will have cuttings to give away within a month.
Willows want sun. Give them five or six hours a day and you get the best leaf colour and the strongest growth. In very hot, dry summers a little afternoon shade is welcome, simply because it slows water loss.
Finally, place the pot where you actually walk past it in February and March. A willow’s finest hour is the catkins, and half the pleasure is noticing them on a grim morning.
Once the plant is settled, the routine is short. In late winter, prune, scrape off the top 3cm of compost and replace it with fresh mix plus a light slow-release feed. In spring, repot every two to three years: trim 2–3cm from the sides and base of the root ball, then return it to the same pot with new compost or move up a single size. Through summer, water and keep an eye on the undersides of leaves for aphids; a firm jet from the hose deals with most of them. In autumn, clear fallen leaves from the surface and check the drainage holes. In winter, wrap the pot in hessian or bubble wrap if hard frosts are normal where you garden, or move it to a sheltered corner.
Start with one plant, in one generous pot, in the sunniest sheltered spot you have. Get the watering right in the first summer and everything else follows easily.
Photo: VanFulpen / Pixabay